

Morning Coffee & Grid Paper...
There is nothing like sitting down bright and early in the morning with a fresh cup of java, sun is shining, air is crisp and it's just you and an idea. Strolling around in the backyard first thing, breathing in the morning air really invigorates and inspires me, hearing the birds sing as the sun breaks the horizon is like poetry (good poetry :D).
I don't think I will ever go back to living in major cities, there is just too much to be missed in life when you are caught up in commuting and just accomplishing what everyone else is accomplishing, keeping up with the Jones' as it were, you know? I don't miss it at all, except I do miss being able to jaunt down to the fabric store, we are seriously in need of one!
 |
| Wing pattern and FMQ'ing idea |
This is what I was inspired the other morning to doodle up, I had a little fun with the picture and put in as my profile pic, yes I am rather camera shy, I'd rather take pics than be in them ;) Anyway, I am creating a very special project for a young lady whom I've never met, she's 11 I believe. This young lady heard about my daughter's struggle with leukemia at an early age and that we were going to do fundraising for the Canadian Cancer Society in the Relay for Life at the beginning of June. So she fund raised by herself, in her hometown (raising over $100 alone in two weeks) and then this amazing girl roped her mum into helping her create 50 hand crafted orange butterflies after researching what color is representative of which type of cancer. Needless to say I was totally blown away.
I racked my brain for a good way to say thank you, I knew I was going to do a quilt almost immediately but the question was, what type? The design had to be girly yet not childish or too adult and I wanted it to be unique and specific to her tastes as well as incorporating something personal from each member of my family. In my previous posting I mentioned not liking to do square quilts, so inspiration came, heavily laced with irony, in the form of a square quilt design in a quilting magazine, which in another fit of irony I usually don't look at.
I adapted the original version to fit my personal style, keeping the elements that had inspired my design. I wish I could show you the original quilt but I believe I already recycled or donated the magazine it was in. It was a very loud looking circus themed quilt with orange and green as the major colors, if you've read the same magazine you'll know exactly what I am talking about, very hard to miss.
For the personal touch inspiration came from the butterflies she made, I found a lovely piece of clip art, (thank you to whomever created that and then made it free for personal use), sized it and cut out the wing shape on thin white muslin. I spent 2 days figuring out that part and searching for applique pieces that didn't look terrible or cartoony, thankfully I ran across a message board that suggested using clip art. Then I spent another full day running all over town trying to find fabric paint that came in muted colors. I was completely out of luck, no one carried more than the basic colors, I was sure I would end up taking an expensive trip to the city trying to find some without any guarantee that there would be any in stock or the type I wanted. I felt a bit frustrated at this point and just about ready to toss in the towel on the whole butterfly idea, thank goodness I remembered something about using acrylic paint as a fabric paint. A little bit of research on the net told me what I need to know to change acrylics to fabric paint (textile medium) YAY! Now we are up and running!
Here's the end result:


Each one of us painted one and I used heat and bond to apply them to the quilt top, and satin stitched the edges with a special stitch on my Brother machine. A really nice bonus about painted fabric is it doesn't fray during washing or stitching, you do have to let any fabric painting you do cure and dry for atleast 24 hours before you heat set it. Using the iron on a medium set, dry press really well to set the paint and then wash the heck out it, in all sorts of water temperatures (put in a white scrap of the same muslin with the wash to test for bleeding) then dry them very well in the dryer. If they stand up to that sort of abuse then they are ready to be placed on your quilt.
So that's where I am at with this project, I've been trying to figure out what and how I am going to quilt around the butterflies, hence the drawing I did with the wind swirls. I am stuck with it at this point and the poor quilt is hanging on the clothes line in my sewing room, I still feel there is something missing so I won't put a thread in it until I am happy. Hopefully that will be soon.. I think it's time for more coffee, sunshine and graph paper.
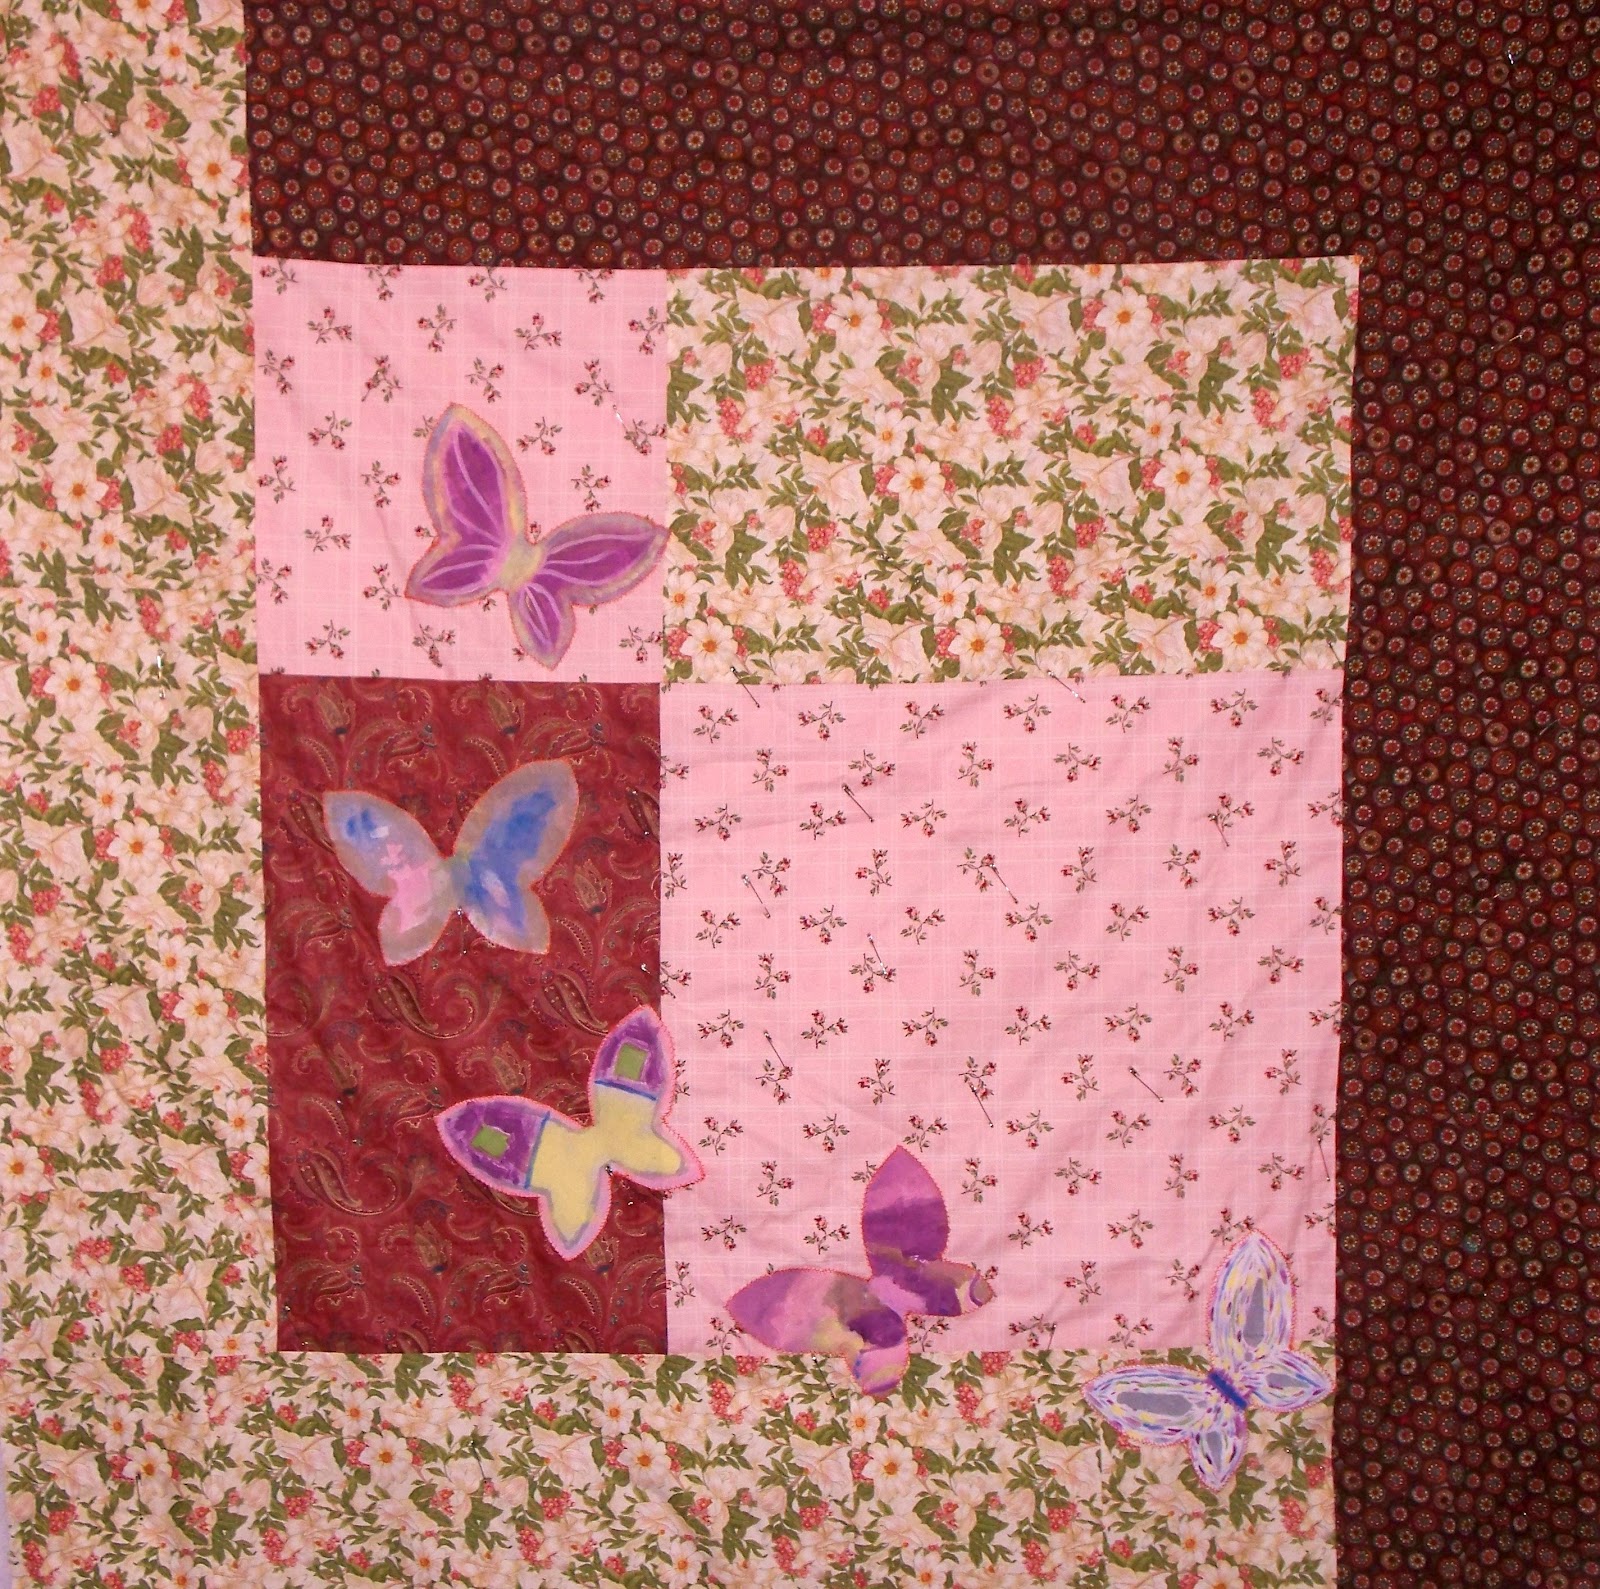 |
| The almost finished quilt top. |
Passion in Creation.
I really like your idea for this quilt. It's very pleasing to look at. Maybe your something missing is a flower for the butterflies....either appliqued or quilted in the upper right hand corner? Great job.
ReplyDeleteQuilted butterflies, leaves and limbs
ReplyDeleteThank you for your comments and ideas! I now have a sketch of my plans for the quilt and once I am home from holidays I hope to share them with you, it is very similar to what you have suggested! :)
ReplyDeleteWOW! That was an awesome story! I love the butterflies. Really love how you laid them out! I think the quilting design you came up with is perfect! Would love to see it finished!
ReplyDeleteI lookforward to seeing the finished design. What a great start.
ReplyDeleteLovely!
ReplyDelete